

Screen recording is one of the most useful features built into modern Chromebooks. Whether you’re creating tutorials, recording an online lecture, showing off your gaming skills, or simply capturing a presentation, ChromeOS makes it surprisingly easy to record your screen. But here’s the catch: starting a recording is straightforward, yet many new users ask the same question—how to stop screen recording on Chromebook?
If you’ve ever struggled with ending your recording or worried about whether your file was actually saved, this guide is for you. I’ll walk you through multiple methods, provide troubleshooting tips, and even share a handy comparison table so you can choose the method that works best for you.
Why Stopping Screen Recording Matters
It might sound obvious, but knowing exactly how to stop a screen recording is crucial. If you don’t end your recording the right way, you risk losing your file or cutting off important parts. Plus, the stop process determines where your video is saved and how quickly you can access it afterward.
I remember my first time using screen recording on a Chromebook. I thought closing the tab would stop the recording—but instead, the system kept running until I realized there was a small red stop button hidden in the corner. That’s when it clicked: learning the proper steps saves time and avoids frustration.
Method 1: Using the On-Screen Stop Button

The most visible way to stop recording is by clicking the on-screen button.
- Locate the recording toolbar. When you begin recording, a small toolbar appears at the bottom-right corner of your Chromebook’s screen.
- Click the red stop icon. This button is hard to miss—it’s a bright red circle with a square inside, signaling “Stop Recording.”
- Wait for the confirmation. Immediately after clicking, your recording ends, and a notification banner appears at the bottom of your screen confirming the save.
This method is perfect if you’re new to Chromebooks, because it’s visual, intuitive, and doesn’t require remembering any keyboard combinations.
Method 2: Using a Keyboard Shortcut
For those who prefer speed, the keyboard shortcut is the ultimate solution.
- Press Search + Shift + X at the same time.
- The recording will instantly stop—no need to use your mouse.
- Just like the button method, a notification appears to confirm your file has been saved.
I find this method especially handy when recording presentations or gameplay, because I can stop the video without having to move the cursor away from the content I’m showing.
What Happens After You Stop Recording?
The process doesn’t end when you stop the recording—the system ensures your video is stored safely and ready for use. Here’s what happens:
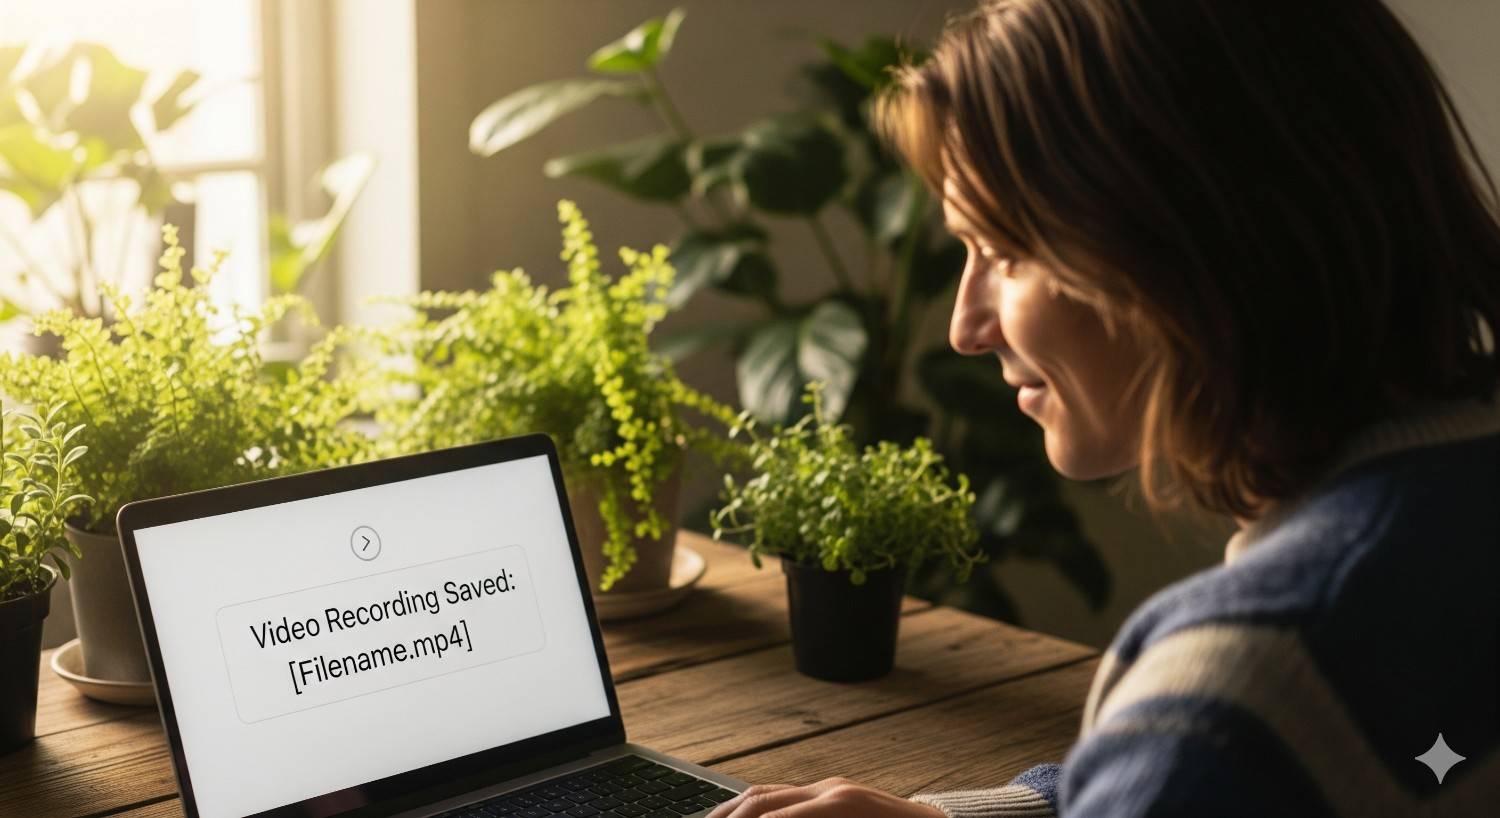
- Notification appears: A banner pops up on your screen letting you know your recording is complete.
- Quick access option: You can click the notification to open your video file directly.
- File saved: Every recording is automatically stored in the Downloads folder on your Chromebook.
This means you don’t have to hunt through random directories—the Downloads folder is your default hub.
Quick Comparison: Stop Button vs Shortcut
Still unsure which method to use? This table makes it easy:
| Method | How It Works | Speed Level | Best For |
| Stop Button | Click the red stop icon in the corner | Moderate | Beginners, mouse users |
| Keyboard Shortcut | Press Search + Shift + X | Very Fast | Shortcut lovers, fast stopping |
Both methods are reliable, so it really comes down to personal preference.
Advanced Tips for Chromebook Screen Recording
Stopping your screen recording is just the start. If you want to get the most out of this feature, consider these expert tips:
1. Practice Both Methods
Spend a few minutes practicing both stopping methods. That way, you’ll always be prepared—whether your hands are on the keyboard or you’re already navigating with your mouse.
2. Check Your Storage
Chromebooks have limited internal storage. If your Downloads folder is full, recordings may fail to save. Always clear unnecessary files or set up Google Drive syncing for extra space.
3. Rename Your Files Immediately
By default, recordings are saved with generic names like Screen recording date-time.webm. Rename them right away so you don’t lose track.
4. Transfer to Google Drive
If your Chromebook supports syncing, move your recordings to Google Drive for cloud backup. This ensures your videos are accessible from any device.
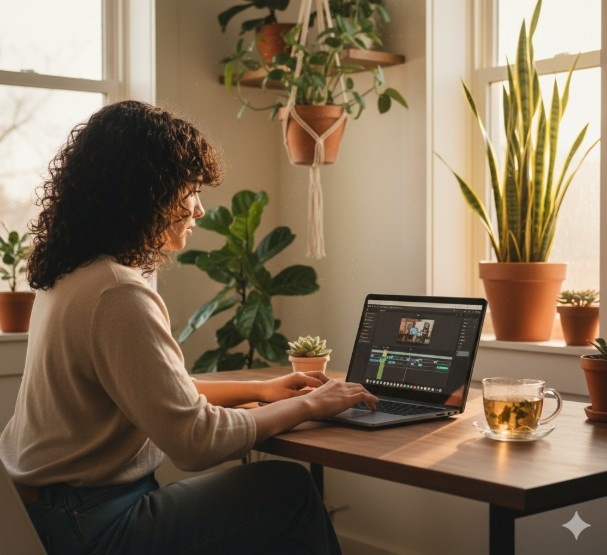
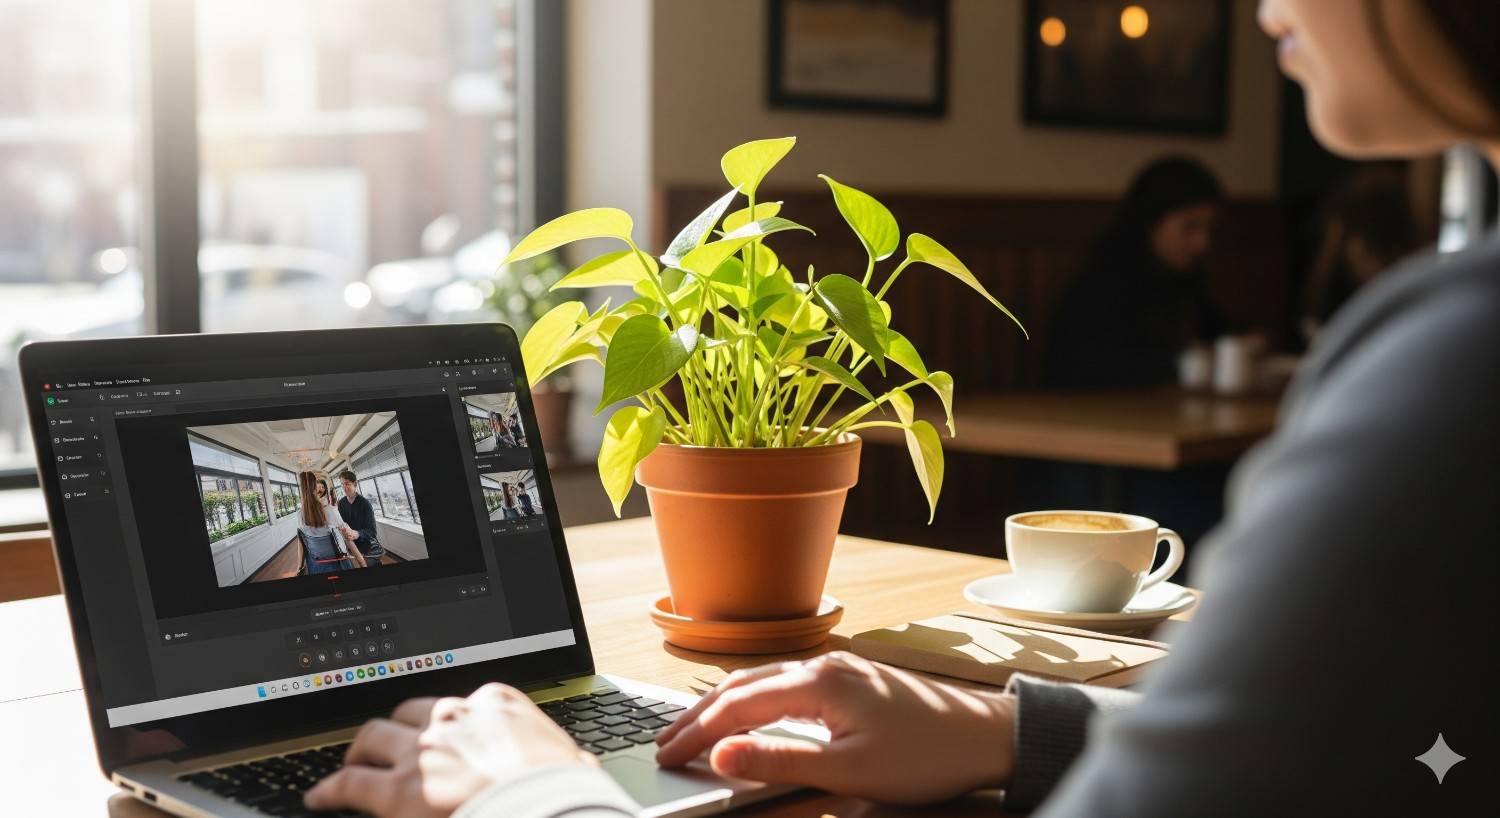
5. Consider Editing Tools
ChromeOS doesn’t have advanced editing built-in, but you can upload your video to tools like WeVideo or Kapwing for trimming, captions, or enhancements.
Troubleshooting: When Stopping Doesn’t Work
Sometimes things don’t go as smoothly as expected. Here’s how to handle common issues:
- The stop button doesn’t appear: Restart your Chromebook and try again. Some ChromeOS updates temporarily cause glitches.
- Shortcut not working: Make sure you’re pressing Search (magnifying glass key), not Caps Lock, along with Shift + X.
- Recording didn’t save: Check your storage space. If it’s full, clear files and retry.
- File won’t open: Recordings are saved in .webm format. Use a compatible player like Chrome browser or VLC.
Real-Life Uses for Screen Recording on Chromebook
Understanding how to stop a screen recording isn’t just a technical step—it makes the feature more practical in daily life. Here are a few real-world scenarios where this comes in handy:
- Students: Record online lectures and stop when class ends to avoid huge file sizes.
- Teachers: Record explanations for students, then stop cleanly to keep videos short and focused.
- Gamers: Capture gameplay highlights and stop exactly at the right moment to save editing time.
- Remote workers: Record presentations or tutorials for colleagues, then stop once the main points are covered.
In all these cases, stopping efficiently ensures you don’t waste storage or lose important content.
Also Read: How to put emojis on chromebook
FAQs About Stopping Screen Recording on Chromebook
1. Where are Chromebook recordings saved?
All screen recordings are automatically stored in the Downloads folder. You can move them later to Google Drive or an external drive.
2. Can I pause a screen recording on Chromebook?
No, ChromeOS currently does not support pausing. You can only stop and restart a new recording.
3. My shortcut doesn’t work—what should I do?
First, confirm you’re pressing Search + Shift + X. If it still doesn’t work, restart your Chromebook or check for pending ChromeOS updates.
4. Can I change the default save location?
Yes, go into your Chromebook’s settings and choose a different folder for saved recordings if you want them organized elsewhere.
5. What format are recordings saved in?
Chromebooks save screen recordings as .webm files, which can be played in Chrome or converted to other formats if needed.
Final Thoughts
Learning how to stop screen recording on Chromebook is a small skill that pays off big in productivity. With just two simple methods—the on-screen stop button and the Search + Shift + X shortcut—you can end your recordings cleanly, save your files safely, and access them instantly.
Personally, I use the keyboard shortcut when I want speed, especially during live presentations. But when I’m multitasking or guiding someone through steps, the red stop button feels more intuitive.
No matter which method you choose, the key takeaway is this: practice it a few times until it becomes second nature. That way, the next time you’re recording a class, tutorial, or game, you’ll be able to stop exactly when you want—no stress, no missed files, just smooth recordings every time.